
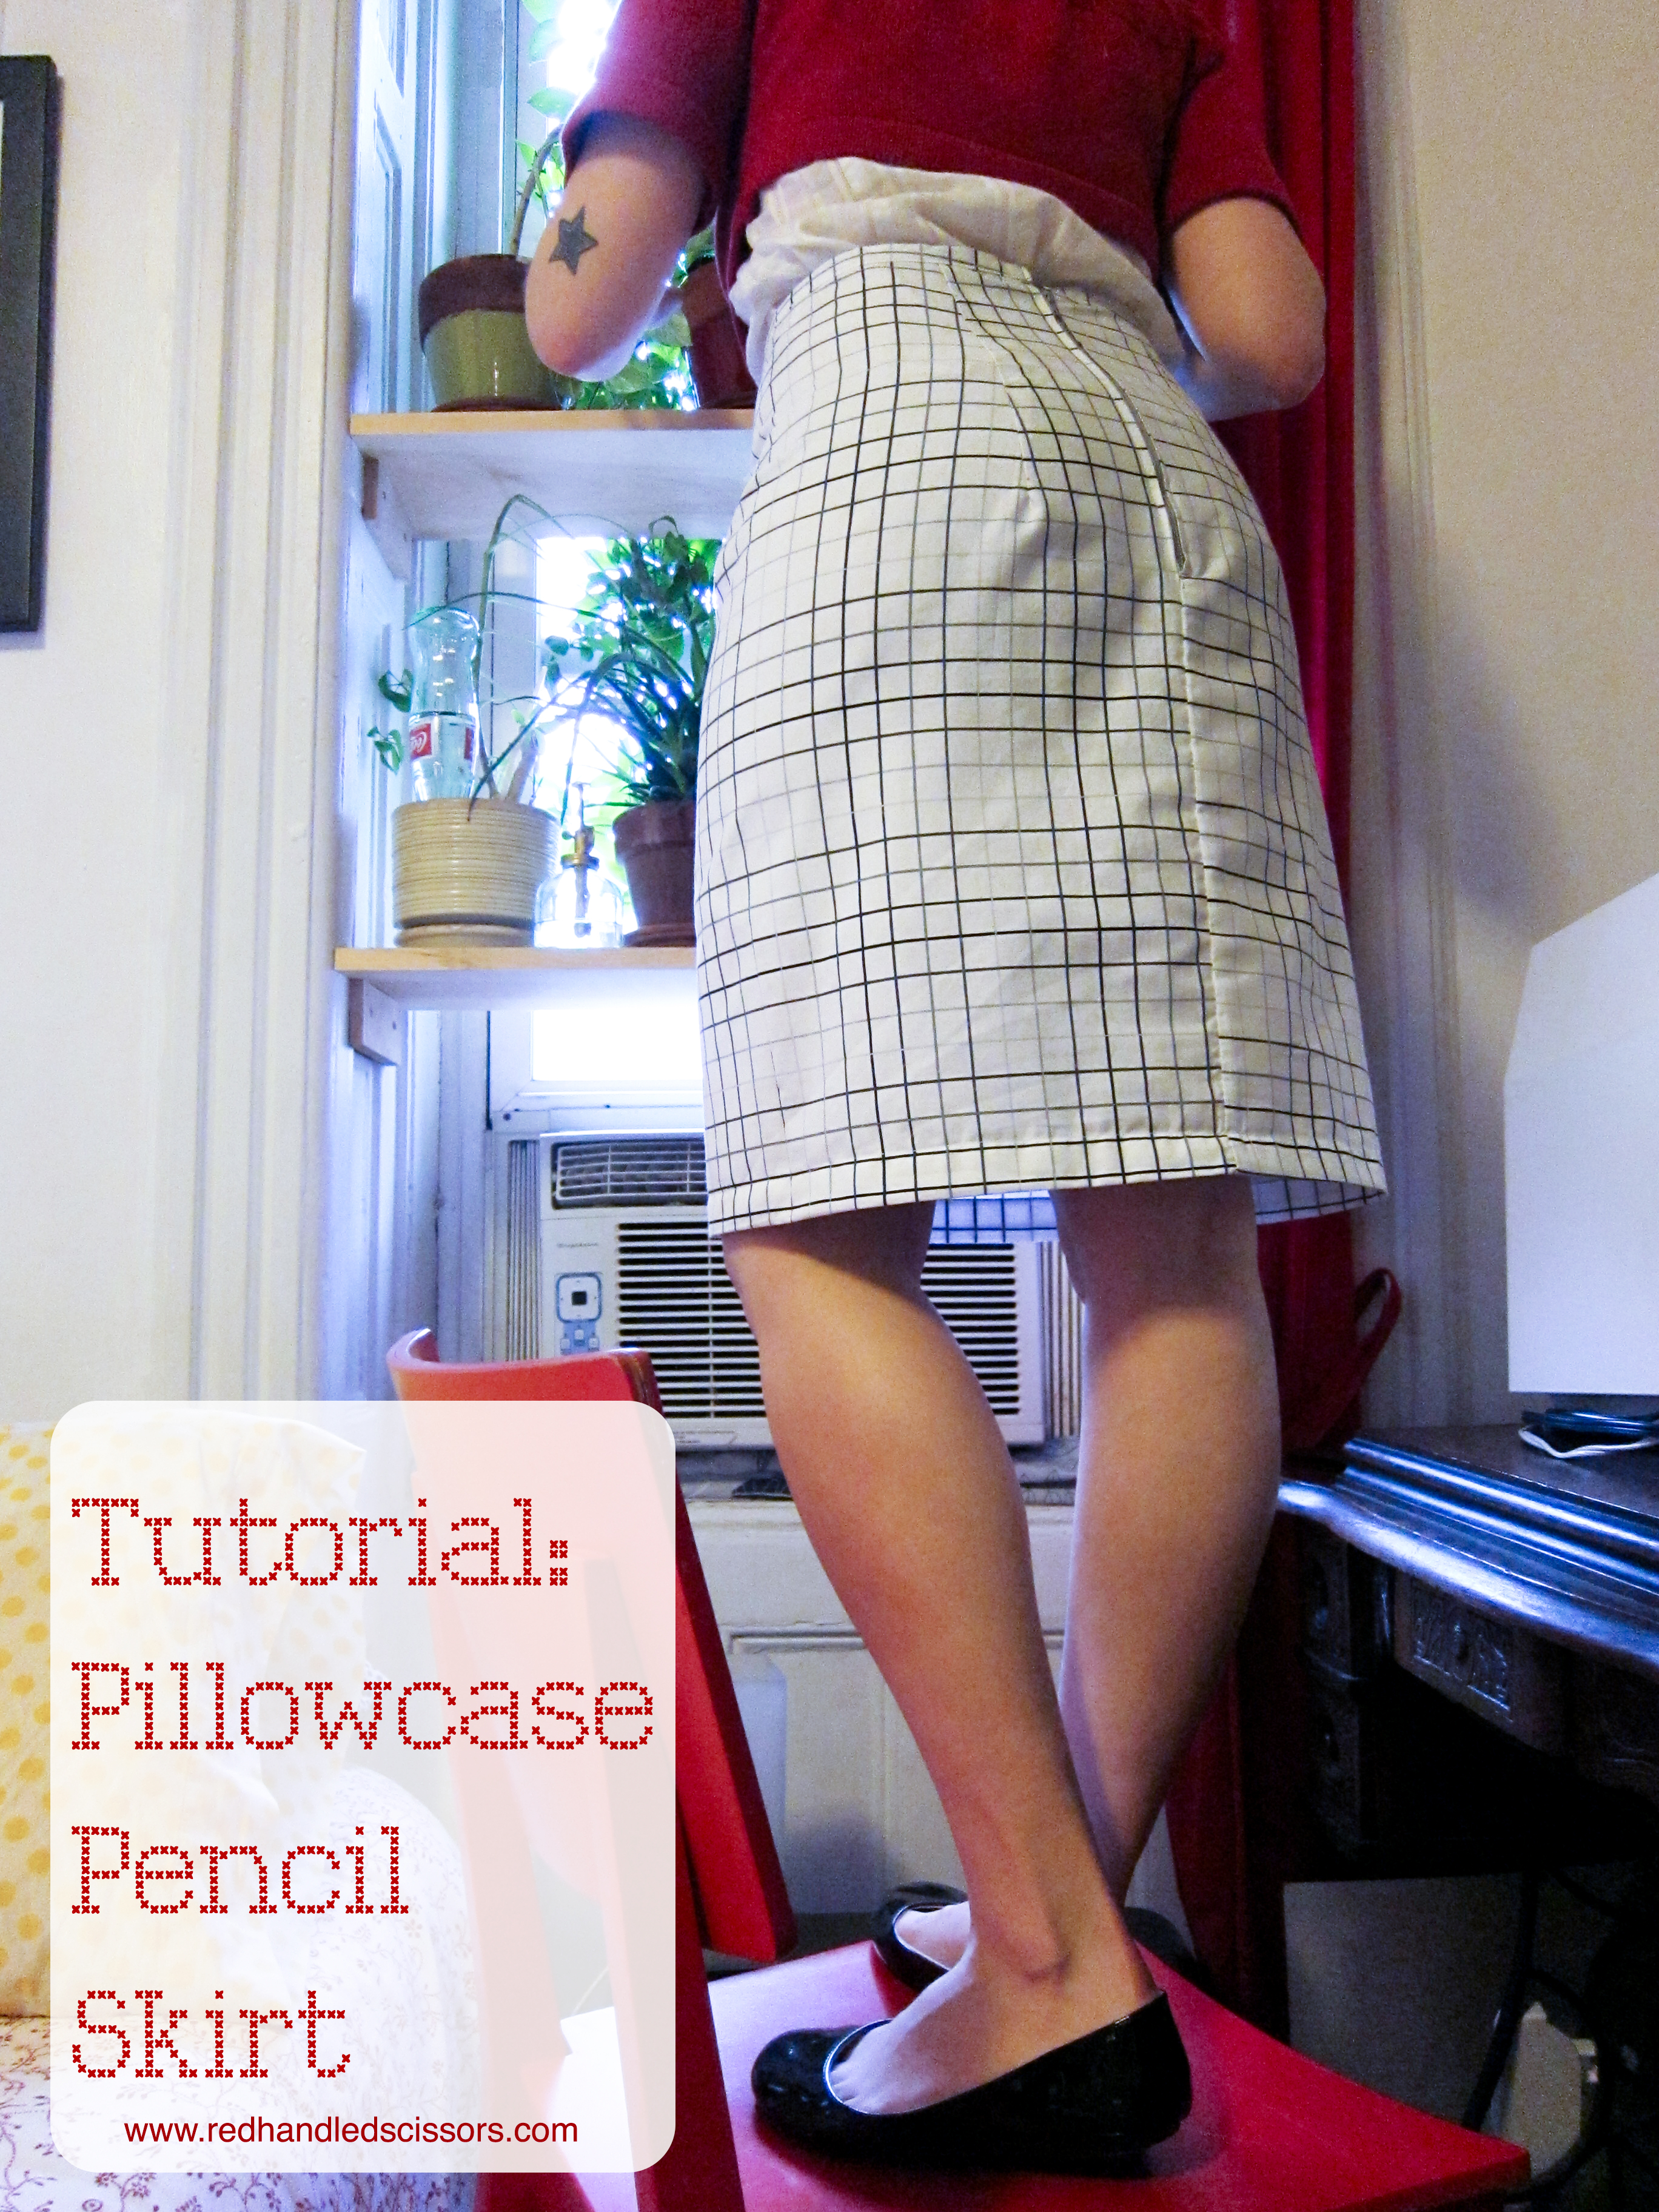
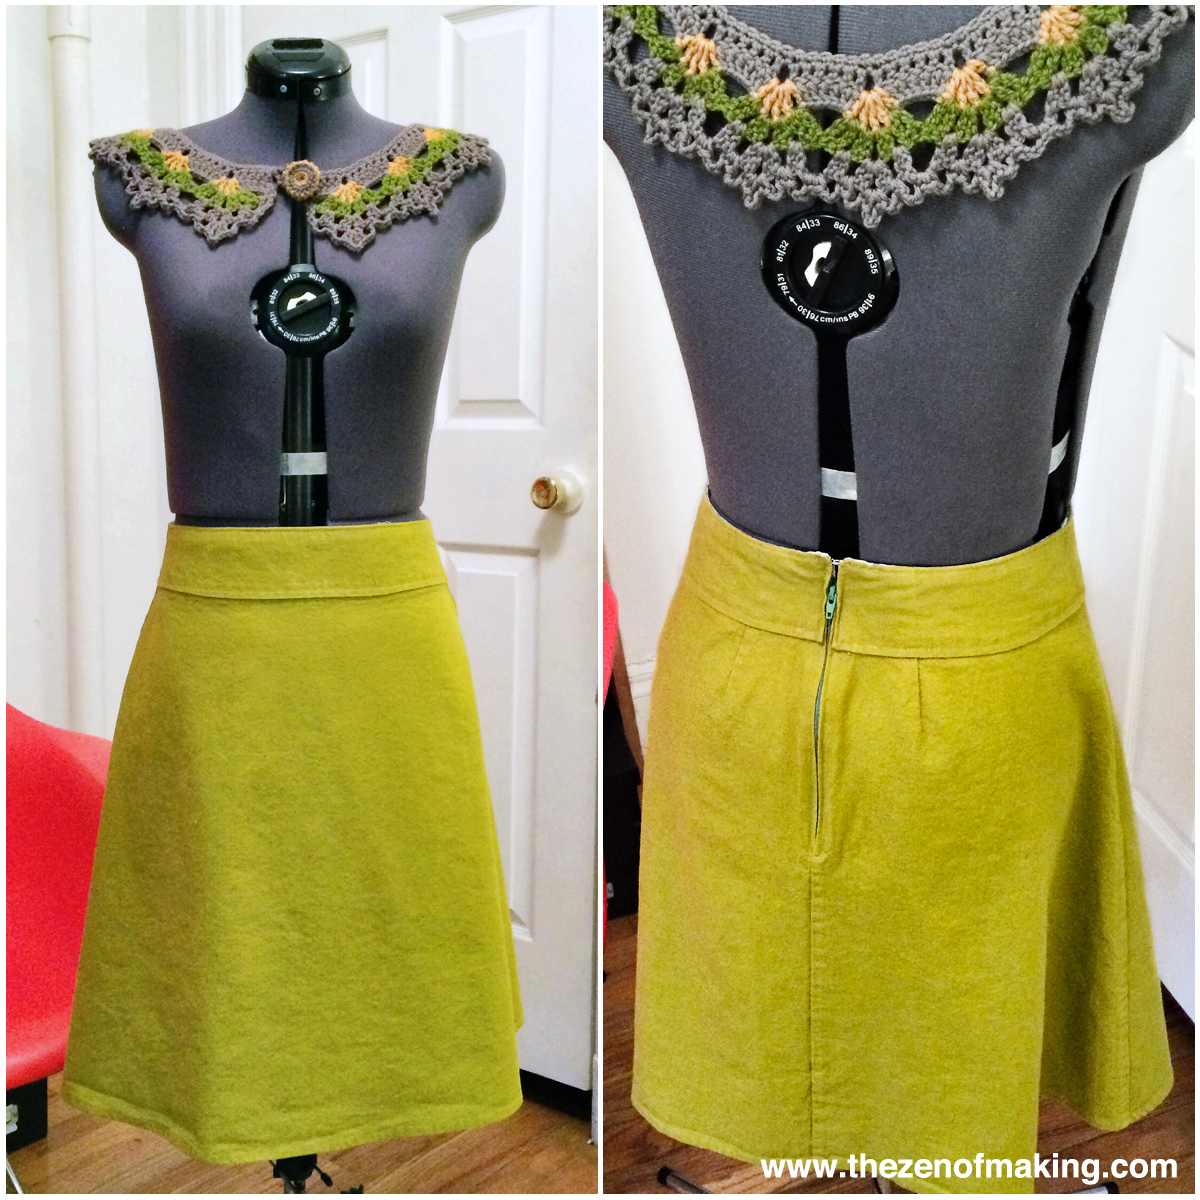
Check it out, ladies: a pillowcase that you can totally wear to the office!
Supplies:
* 1 pillowcase (affiliate link)
* 1 zipper, 7" or 9" (affiliate link)
Tools:
* Sewing machine (You can also sew by hand.) (affiliate link)
* Seam ripper (affiliate link)
* Straight pins (affiliate link)
* Fabric scissors or rotary cutter (affiliate link)
* Fabric pencil/tailor chalk (affiliate link)
* Measuring tape/ruler (affiliate link)
* Iron (affiliate link)
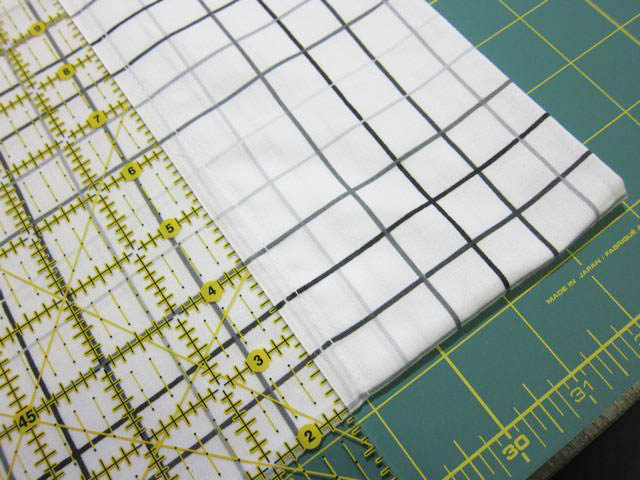
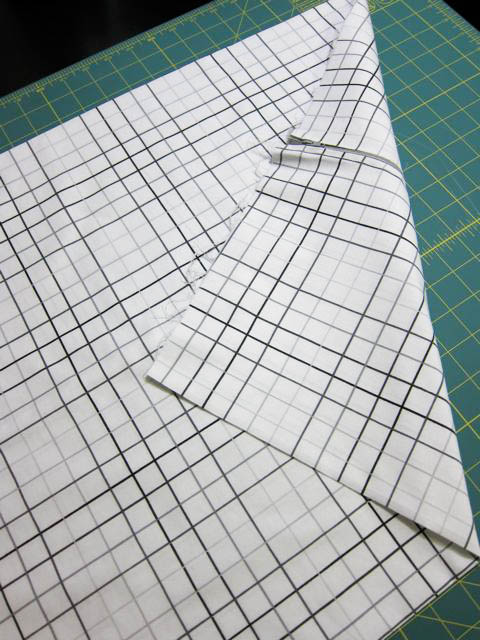
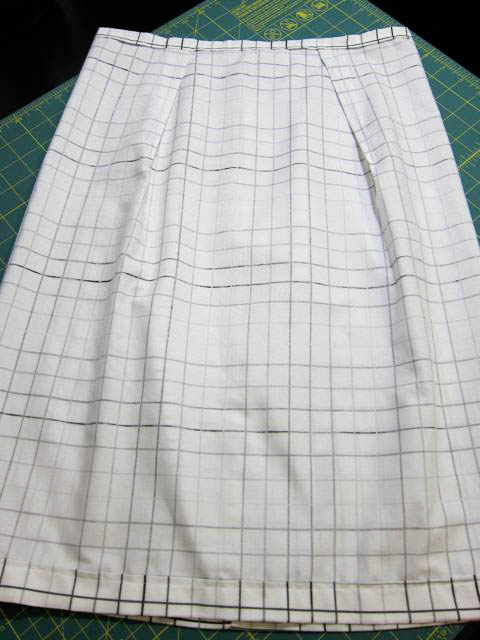
1. Iron your pillowcase flat. Cut off the finished (open) end just below the seam. You will use this piece to create the waistband later.

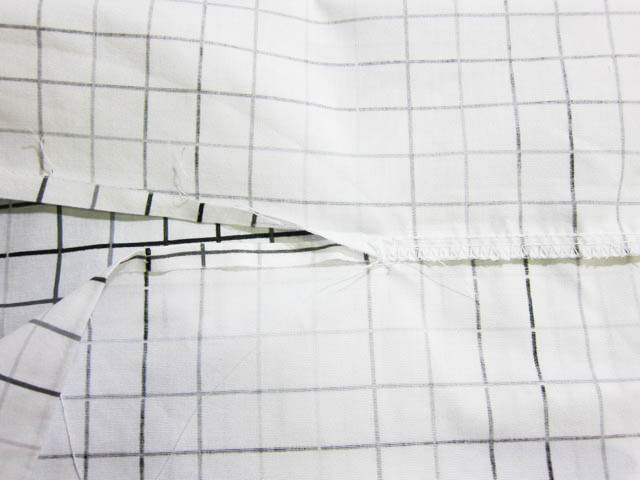
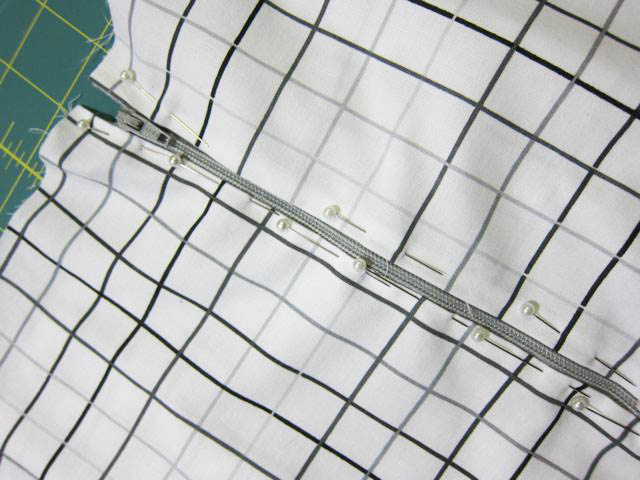
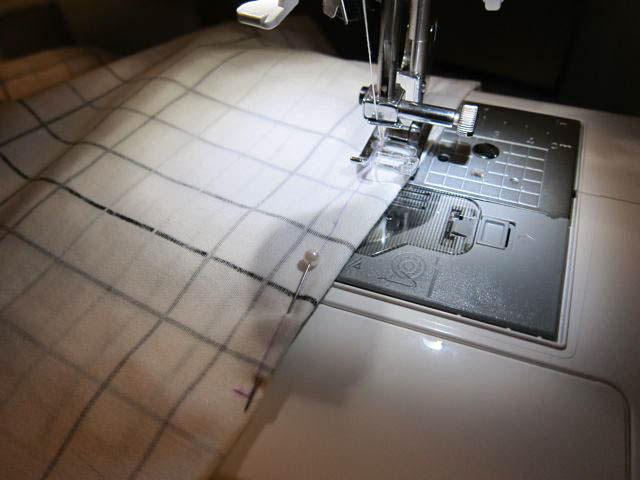
2. Center the seam at the back, and press the pillowcase. Open the back seam from the top, creating a space long enough to fit your zipper.
At this point, to avoid unraveling the rest of the back seam, you should stitch a few times back and forth over the bottom of the opening you just made to secure any loose threads. (You can see my stitches in the photo below.)
Note: If your pillowcase has two side seams, you can insert the zipper in either of the sides instead of the back.
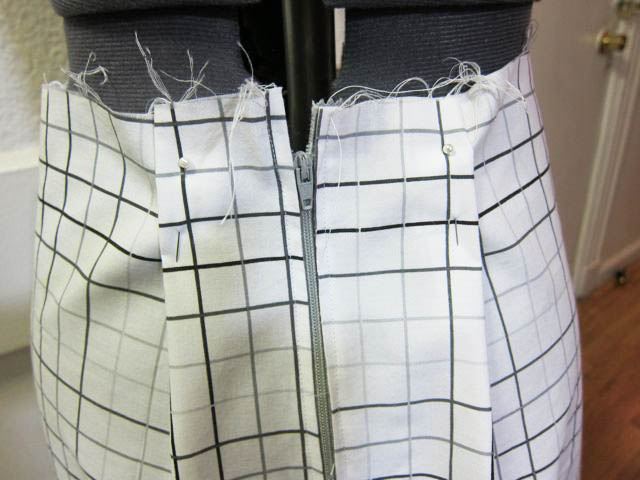
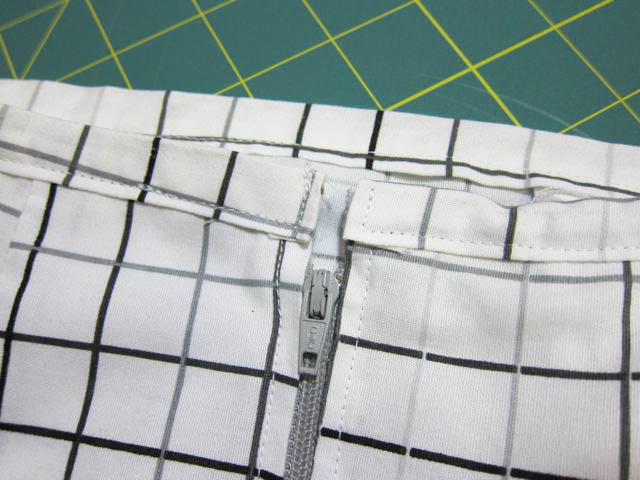
3. Before laying the zipper in place, turn skirt inside out and fold back the unfinished edges of the opening about ¼” and press.
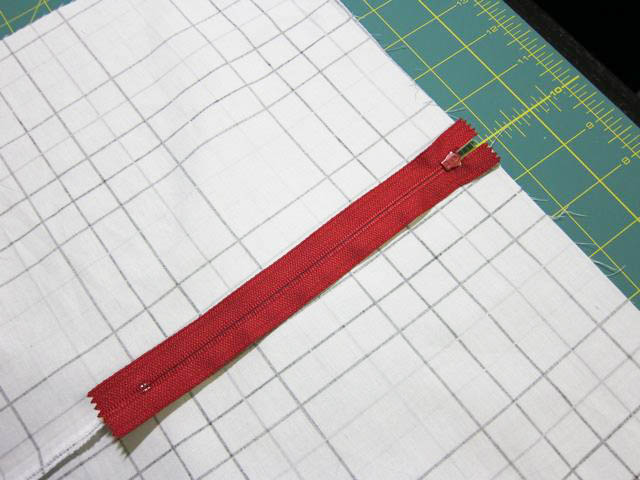
4. Lay the zipper in place, taking care to center it in the opening. (Please excuse the magical color-changing zipper. I was working on 2 skirts at the same time.)
5. Pin the zipper into place.
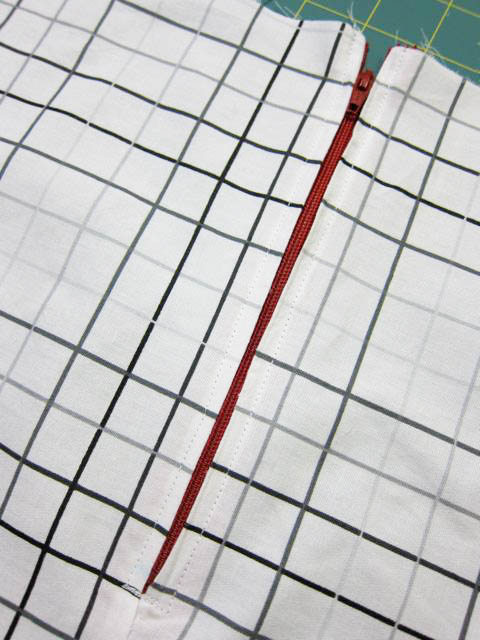
6. Stitch around the edge of the zipper, securing it in place.
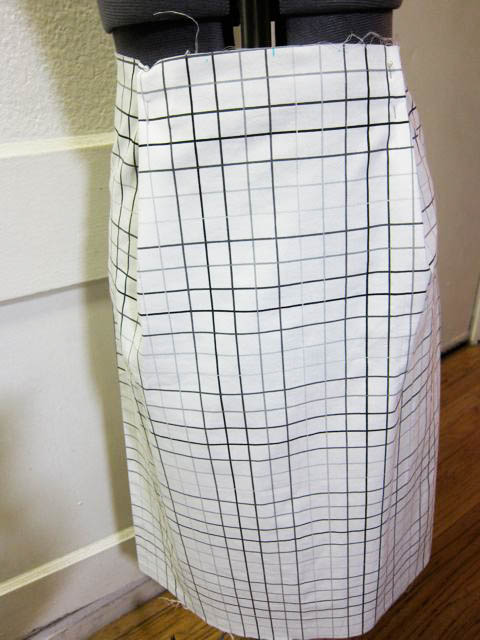
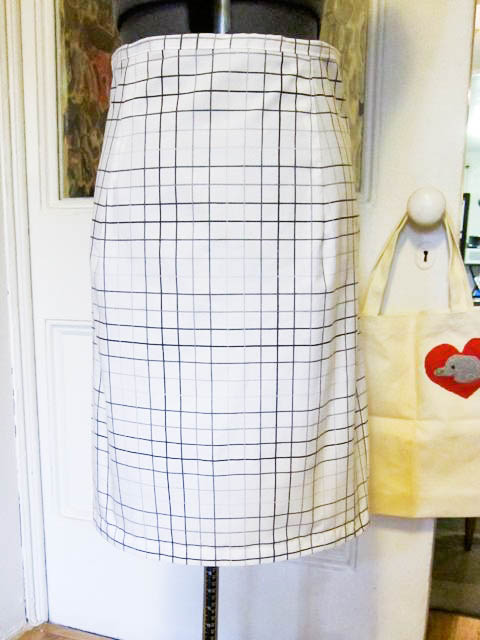
7. Turn skirt right side out, centering the zipper in the back, and press.

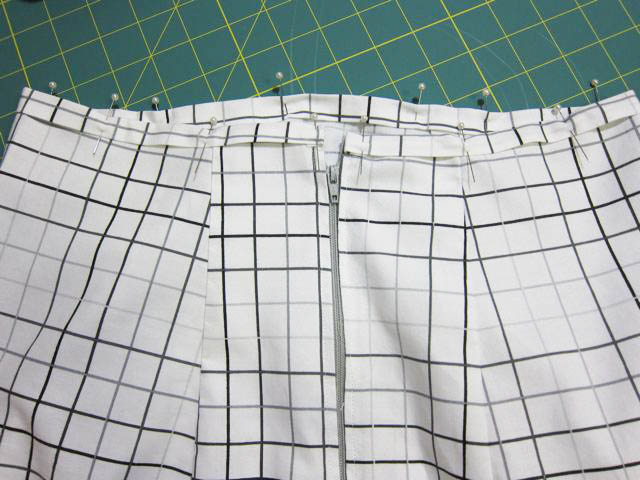
8. Find the center of the top of the skirt and mark it.
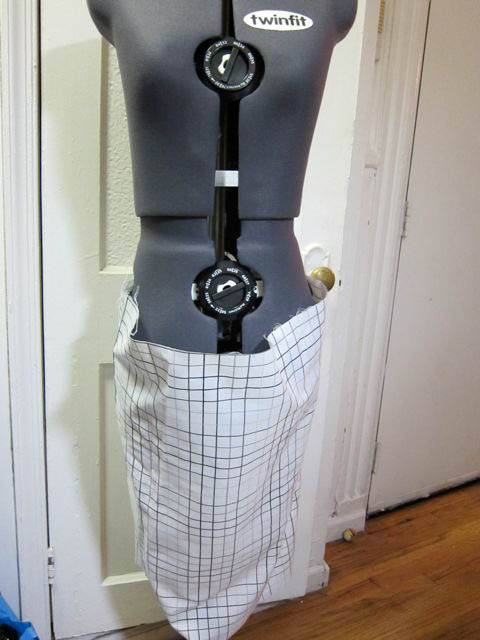
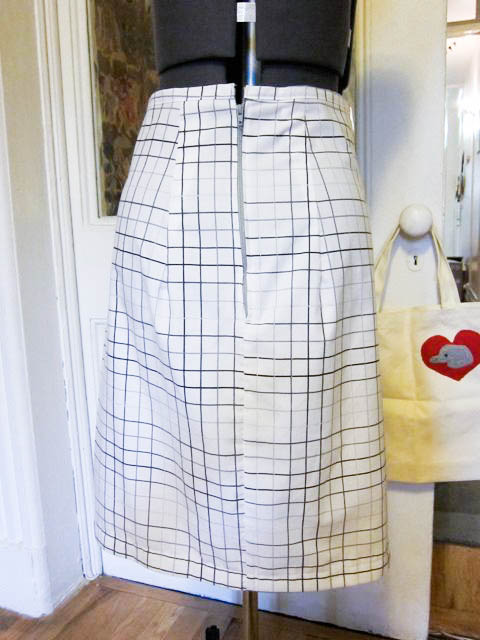
9. Either using a dress form or yourself (with a steady-handed friend to help pin), dart the front and the back of the skirt to make the waist the correct size and the skirt the correct shape.
Take care that the darts are evenly spaced from the center, and that they are angled slightly out to follow the natural curve of your body. In the front, place the darts farther from the center, towards your hips. In the back, place them closer to the zipper. For a flattering fit, the dart placement is very important, so start over again if you don’t get it right the first time (it took me more than a few tries).
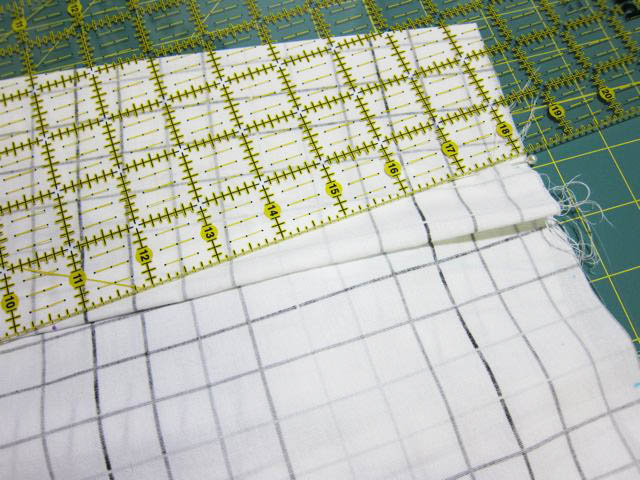
10. Remove the skirt from the dress form and turn it inside out. Place a vertical pin at the top of each dart, then use a ruler to draw a line about 8″ long from the pin to the folded edge of the dart. (Don’t let them intimidate you—darts are nothing more than pinched together flaps of material.) Repeat this process for all 4 darts.
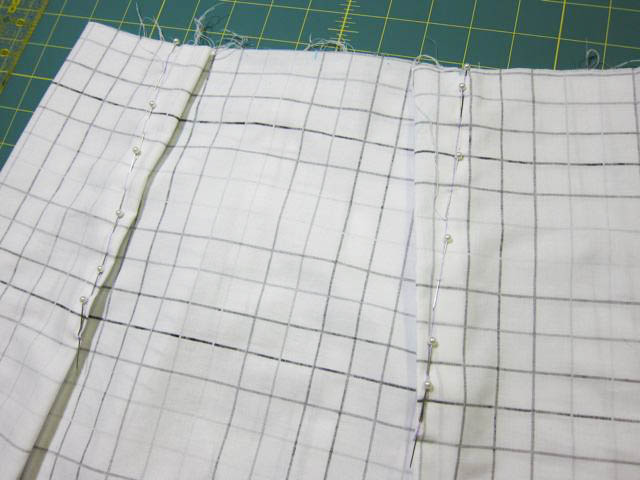
11. Pin along the line for each dart.
12. Sew each dart in place along the line you drew in step 10.
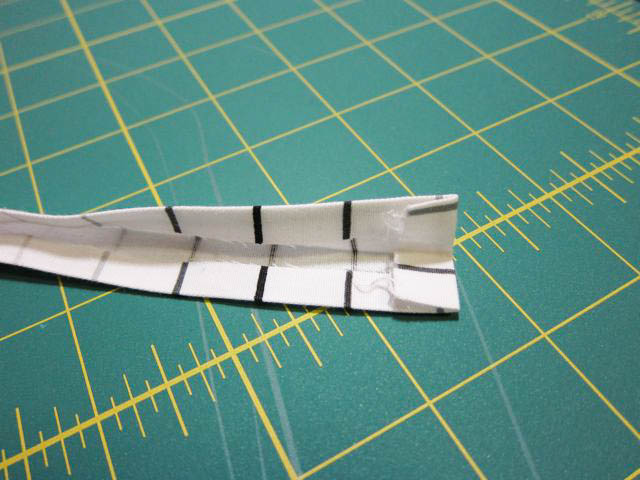
13. With the darts in place, it’s time to add the waistband. Cut the finished seam off of the material that you set aside in step 1, creating a long strip of fabric. Cut the bottom off of the strip, leaving ¾” of fabric. (Remember, the strip is folded in half at the center, so you really have a 1½” wide strip of fabric.)

14. Fold the unfinished edges in ¼” towards the center fold, and press into place.
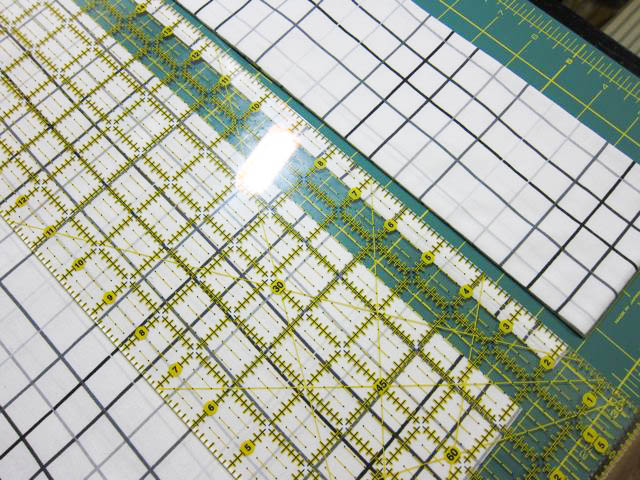
15. Measure around the waist of the skirt. Cut the waistband strip to size, leaving an extra ¼” on each side to finish the ends. Fold each end under ¼”, then fold in half and press.
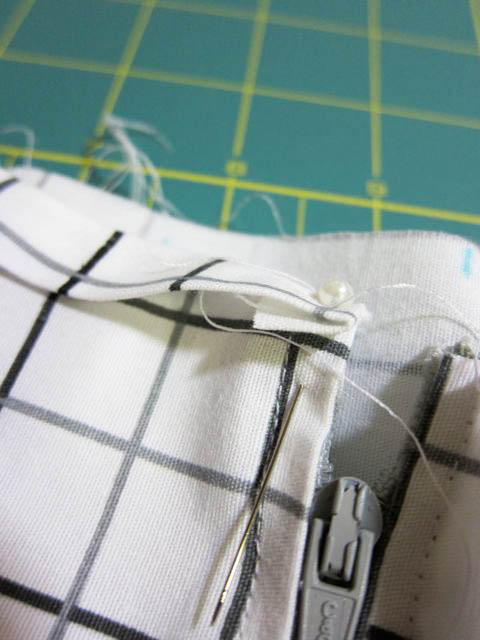
16. Starting on one side of the zipper, line up the folded end of the waistband with the edge of the zipper opening and pin into place.
17. Pin the rest of the waistband into place around the skirt.
18. Stitch down the edges and around the waistband to secure it in place.
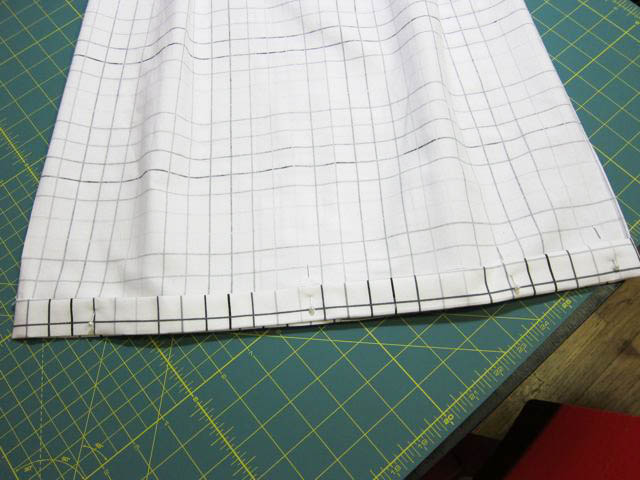
19. Hem the bottom to length, folding the unfinished edges under and pressing into place.
20. Stitch around the top fold of the hem, finishing the edges.
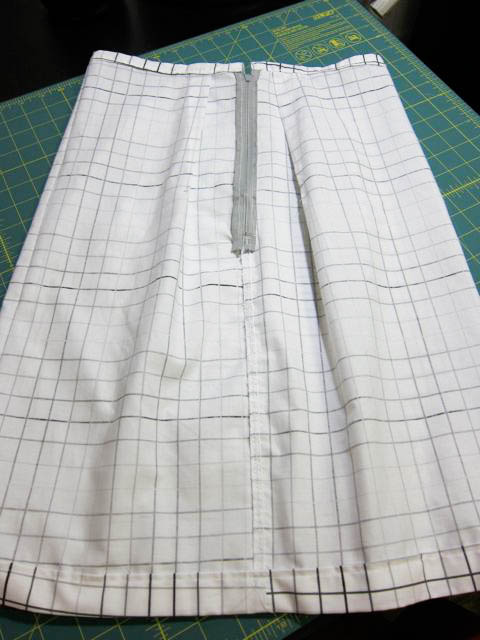
You’re done!
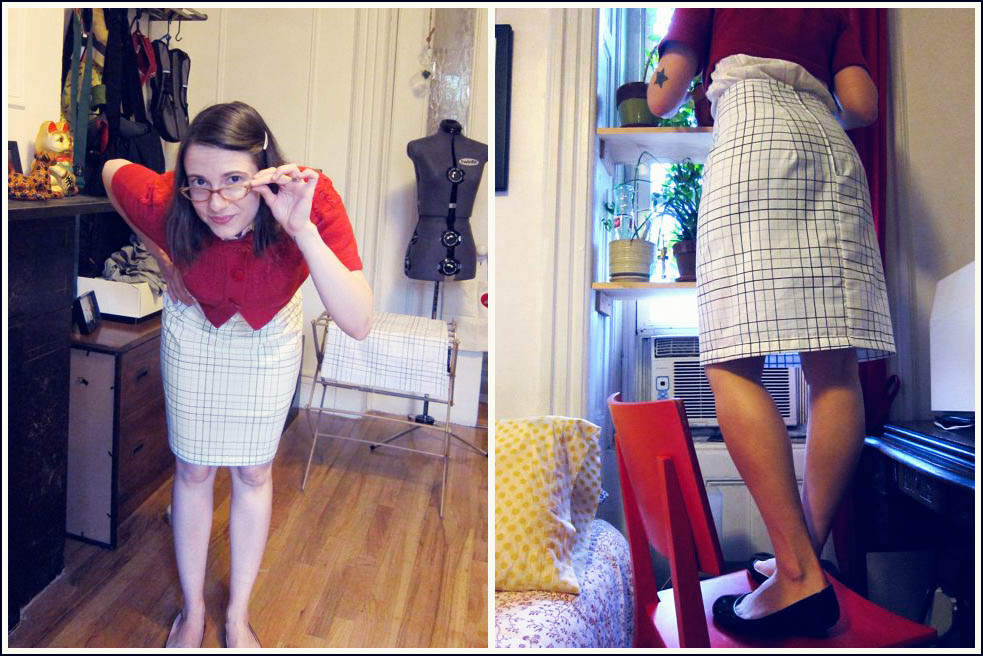
Press the skirt to get rid of any remaining wrinkles, then hit the town. Or, you know, the library.
Start with these tutorials:
|
|
|

![]()

Totally cute!! Just wish I could squeeze these hips of mine into one… perhaps I now have a goal!!
The skirt only looks little because I'm petite. It can size up to around 40" waist/hips or so, depending on the pillowcase.
Very kewl……but i dont think i could get my big butt into a pillowcase :P I DO have some very nice poly fabric i have been saving for a skirt tho :)
This is hot! I can't wait to get to one place and buy a sewing machine. :)
oh no, only 40"? maybe I can find a big pillowcase cause I'm 46!
This is adorable and your tutorial is wonderful. Cute, cute. I tweeted as my tweet for the day :)
I definitely think you can find pillowcases in different sizes. Mine was just a cheap one-size from Target.
Thanks for sharing–I just saw your tweet!
wow! i've never tried skirts with darts! actually i only ever made ONE skirt with an elastic band. i would totally love to try this!!!
Very cute! Thanks for the step by step! Looks great – I never would have guessed it started as a pillow case.
Darts are magical–they can totally re-shape fabric without any cutting!
Thanks! I'm on a pillowcase kick right now.
I just stopped by your blog to see the cocktail dress–very nice!
pillowcases are my favorite things to repurpose into fashion! earlier this year I turned a set of blue satin cases into a Mad Men inspired cocktail dress, and it turned out beautifully! Just like this pencil skirt! Great job!
oh my gosh how clever! and comfy, too, i am sure!
It's really comfortable. I used a cheap-o pillowcase, so I bet high thread count versions would be really awesome.
you are the pillow case diva!
Can I feature Your tutorial on the Vintage sheet Blog? http://vintagesheets.blogspot.com
I'd love for the tutorial featured! I'll send you an email as well to confirm. Your blog is lovely! :)
Great tutorial! You make inserting a zipper look so easy that I will totally try it!
Thanks.
~Michelle
This is a genius little number! Thanks for the tutorial. I featured it today during Skirt Week at seven thirty three. :)
I needed a new skirt to go with my suit jacket. Growing up I never learned how to place pattern pieces on fabric, but I learned how to follow directions. This was written and designed the way I follow directions. The only thing that would have helped me was an idea of how far the dart measurments were from the center on the front. I put them on the front inside of my hip about where belt loops on my pants sit. I should have put them on the outside of my hip. But I can wear this on a job interview and not be embarrased. Thanks again.
So glad you liked the project, and thanks for the dart feedback!
I decided not to provide dart placement information because I wanted to give folks an opportunity to place them in a way that best suited their individual body shape. (I’m petite, but I have a larger butt, so dart placement that looks good on me might not be as flattering on someone with a different body shape.) And, since waist sizes vary, it’d be hard to make a suggestion that would work for every measurement.
For what it’s worth, I just measured the placement of my front darts: the front of my skirt measures about 13.5″ across (27″ waist), and the darts are placed around 4″ in from the center of the skirt.
Good luck with your interviews!